 My classes began tiling – I wrote the steps of the procedure on the board. #1, select a mural square drawn on paper. (Easy squares were reserved for my Basic Art classes; my Advanced students had tiled with me the previous year.) #2, take a square of tile mesh. #3, use marker to write the square coordinates on the mesh. #4, flip the mesh over. #5, put the mesh on the paper mural square and copy the design.
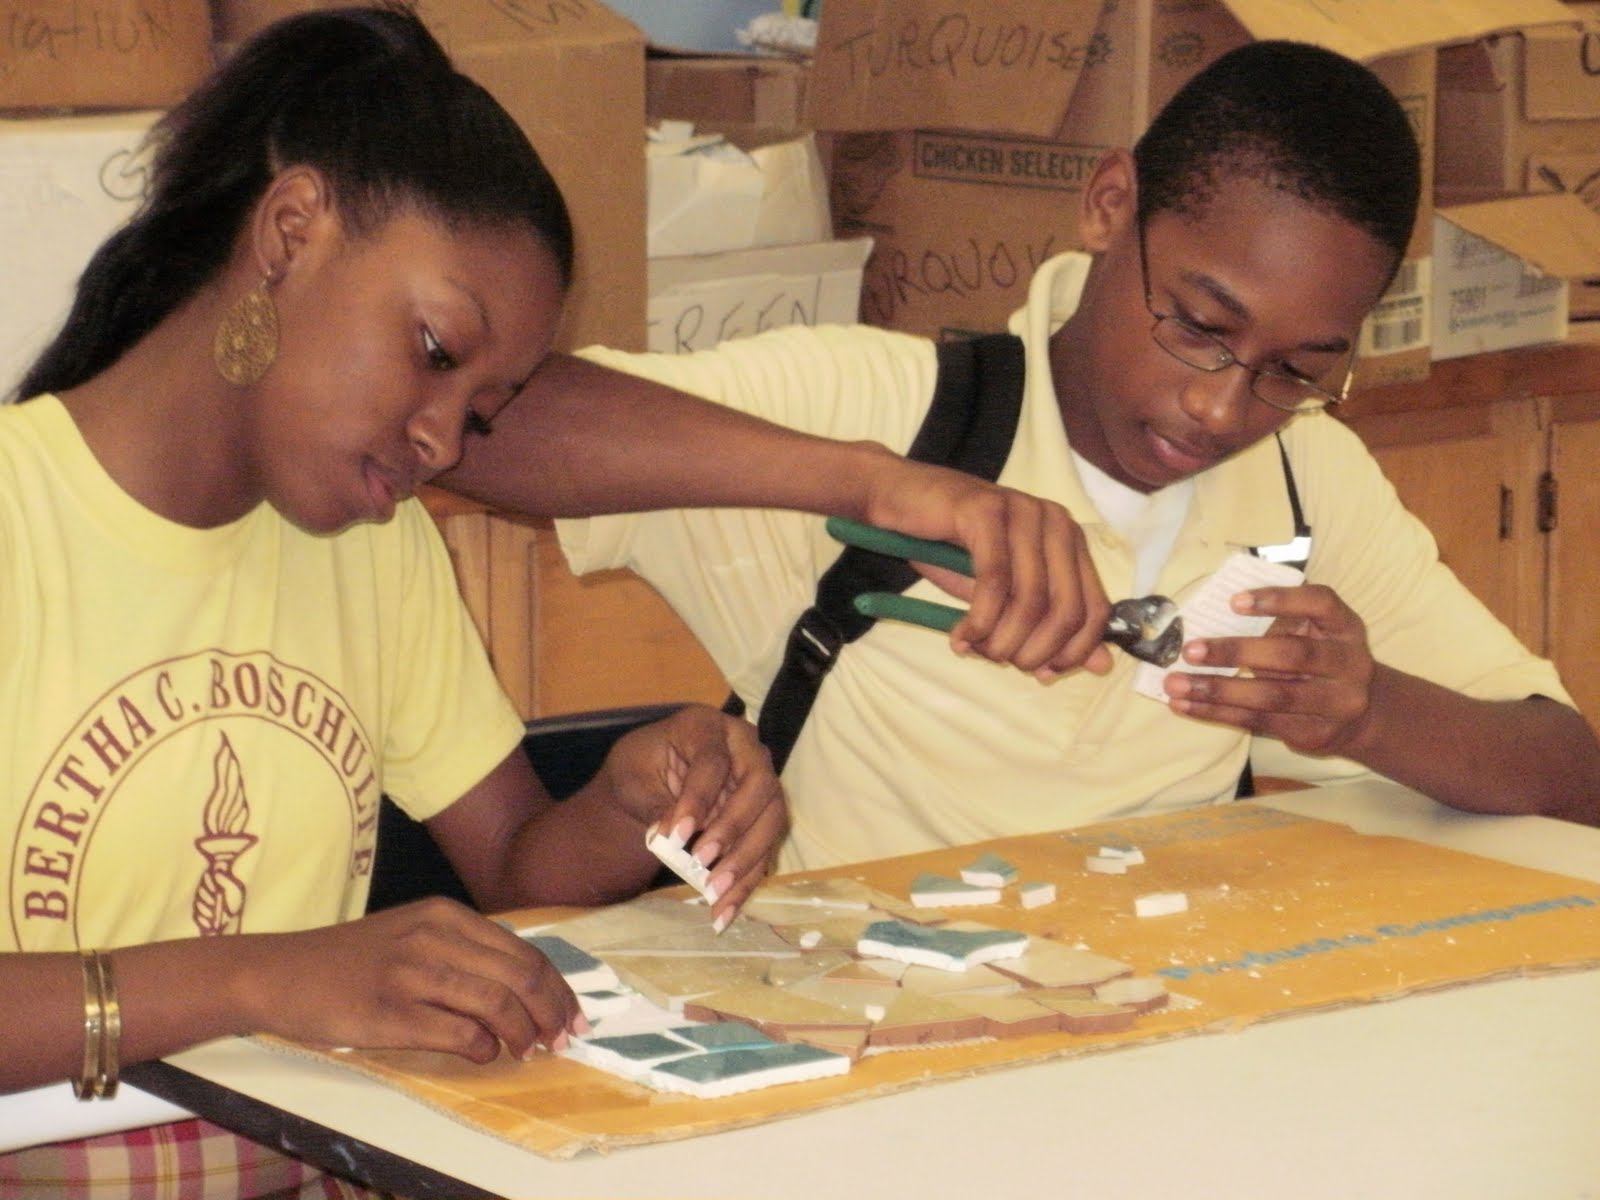
#6, cut tile to appropriate size and shape, using appropriate colors, to fill the design. #7, glue (using glue sparingly) the tiles in place.


#8, slide paper and mesh and tile onto cardboard, flip over so the tile is face down.


#9, peel off paper and let dry.
My room, already messy, took on a new level of disorder. Cardboard trays of completed tile squares, sorted by letter (row), were stacked in the storeroom. Boxes of tile lined two walls.
To write on the whiteboard, I literally had to climb onto boxes and stand in boxes of broken tile. Apparently this became normal enough that the students ignored me.

Desks and countertops held stacks of cardboard separating mural squares not yet finished. The floor was littered with bits of tile, and no matter how frequently we swept, the floor still seemed littered with bits of tile.

But we worked and worked and tiled and tiled, and slowly slowly it came together.
No comments:
Post a Comment